Computer Systems Experiments 10 | Smoother Larson Scanner And Pulse-Width Modulation
Computer Systems Experiments 10 | Smoother Larson Scanner And Pulse-Width Modulation

There is actually no option that we can change the brightness of an LED directly. From the instructions of the BCM2835, we can set the output of a pin to either HIGH or LOW without any middle stage. The method we are going to use to change the brightness of an LED is called pulse-width modulation.
Pulse-width modulation is a method of reducing the average power delivered by an electrical signal, by effectively chopping it up into discrete parts. In our previous experiment, we directly set the output value of the pin to HIGH and thus the average electrical level is HIGH.

When we chop the signals into discrete parts, if we don’t delay for a certain time after each instruction, the LED will not be blinking. Instead, the average electrical level will be lower and it will impact the brightness of the LED. So in this case, the LED with be dimmer.

Moreover, in the following two cases, the LED will be even dimmer because the average level is even lower,


Based on the idea above, we can design the following code to change the brightness of an LED,
.equ BRIGHT1, 0b1 // change the brightness by changing this value
// set output to GPIO 20 to 27
ldr r0, FSEL2
ldr r1, =0x00249249
str r1, [r0]
// set the starting status
mov r1, #(1<<20) // current pin
mov r2, #1
loop:
  ldr r0, SET0
  and r3, r2, #BRIGHT1
  cmp r3, #BRIGHT1
  streq r1, [r0]
  ldr r0, CLR0
  str r1, [r0]
add r2, r2, #1
b loop
FSEL2: .word 0x20200008
SET0: .word 0x2020001c
CLR0: .word 0x20200028
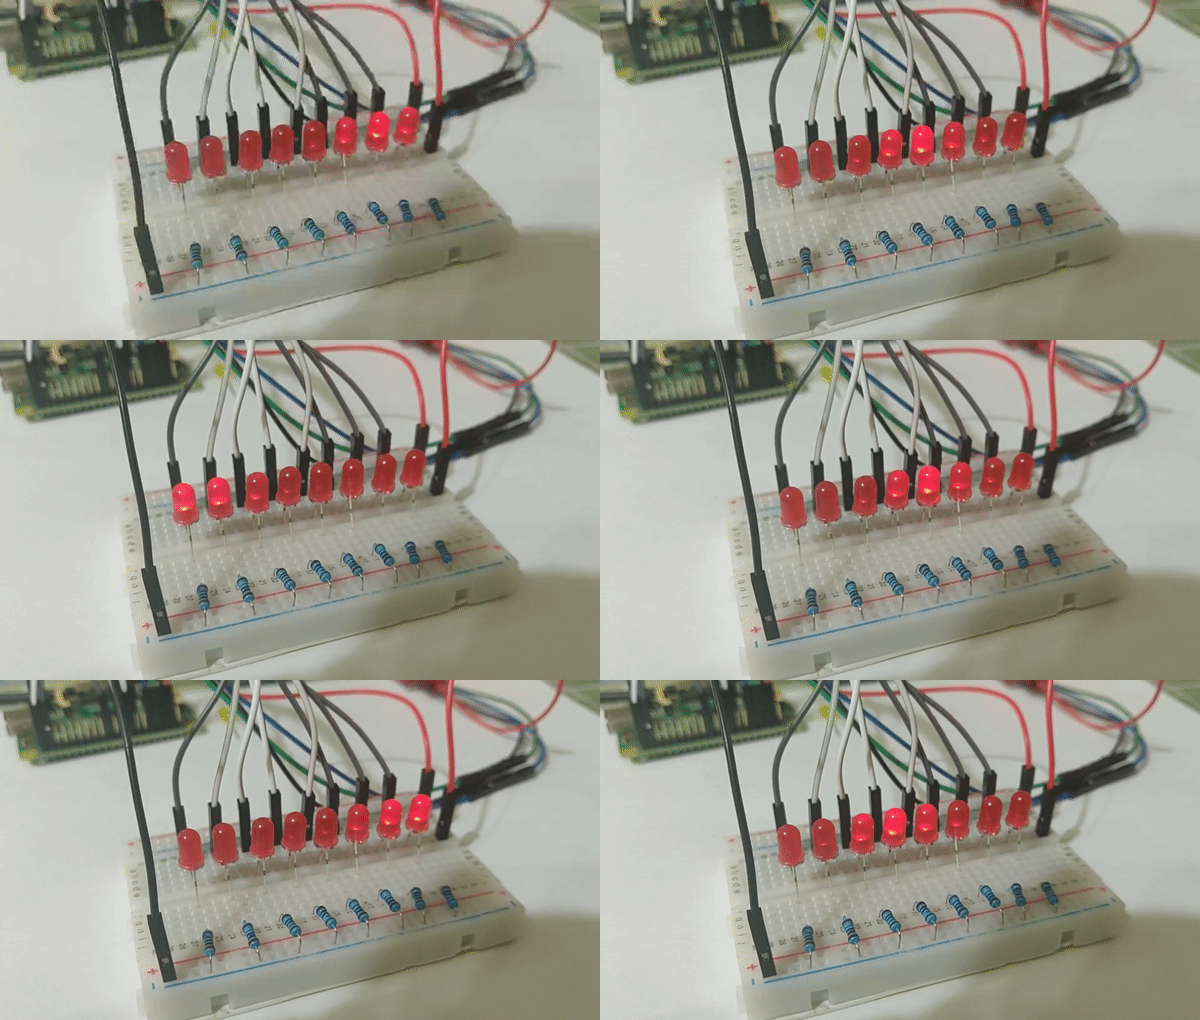
So my idea is that we can start from the middle LED and then move to the 1st left, 2nd left, 1st right, and finally 2nd right. We would like to set different brightness to all these different LEDs according to the relative middle LED position. So the generally the code is (based on the scalable scanner from the last experiment),
.equ DELAY, 0x010000
.equ AMOUNT, 8
.equ BRIGHT1, 0b1
.equ BRIGHT2, 0b111
.equ BRIGHT3, 0b111111
// set output to GPIO 20 to 27
ldr r0, FSEL2
ldr r1, =0x00249249
str r1, [r0]
// set the starting status
mov r1, #(1<<20) // current pin
mov r2, #DELAY
mov r3, #1
mov r4, #(1<<20)
mov r5, #(1<<18)
lsl r4, #AMOUNT
lsl r5, #AMOUNT
loop:
  // mid light
  ldr r0, SET0
  and r6, r2, #BRIGHT1
  cmp r6, #BRIGHT1
  streq r1, [r0]
  ldr r0, CLR0
  str r1, [r0]
  // 1st left light
  ldr r0, SET0
  lsl r1, #1
  and r6, r2, #BRIGHT2
  cmp r6, #BRIGHT2
  streq r1, [r0]
  ldr r0, CLR0
  str r1, [r0]
  // 2nd left light
  ldr r0, SET0
  lsl r1, #1
  and r6, r2, #BRIGHT3
  cmp r6, #BRIGHT3
  streq r1, [r0]
  ldr r0, CLR0
  str r1, [r0]
  // 1st right light
  ldr r0, SET0
  lsr r1, #3
  and r6, r2, #BRIGHT2
  cmp r6, #BRIGHT2
  streq r1, [r0]
  ldr r0, CLR0
  str r1, [r0]
  // 2nd right light
  ldr r0, SET0
  lsr r1, #1
  and r6, r2, #BRIGHT3
  cmp r6, #BRIGHT3
  streq r1, [r0]
  ldr r0, CLR0
  str r1, [r0]
  // reset r1
  lsl r1, #2
  // count until DELAY
  subs r2, #1
  bne loop
  tst r3, #1
  bne forward
  beq backward

forward:
  lsl r1, #1
  b compar
backward:
  lsr r1, #1
  b compar
compar:
  cmp r1, r4
  moveq r1, r5
  moveq r3, #2
  cmp r1, #(1<<19)
  moveq r1, #(1<<21)
  moveq r3, #1
  // reset r2
  mov r2, #DELAY
b loop
FSEL2: .word 0x20200008
SET0: .word 0x2020001c
CLR0: .word 0x20200028
You can also find this code from my repo.

Oh, and you may be bored with the process of assembling the code every time. Let’s try a new way, the shell script. In the debug process, you may type the following commands hundreds of times and to be honest, they are really boring,
$ arm-none-eabi-as brightness.s -o brightness.o
$ arm-none-eabi-objcopy brightness.o -O binary brightness.bin
$ rpi-install.py brightness.bin
Now, we can add a shell script to help us run these commands. The script can be found from my repo named setup.sh with the following content,
#!/bin/bash
arm-none-eabi-as brightness.s -o brightness.o
arm-none-eabi-objcopy brightness.o -O binary brightness.bin
rpi-install.py brightness.bin
Note that you may need to change the first line if you are not using bash (see more from here). To run this file, we can simply write,
$ source setup.sh
This is equivalent to run the three arm-none-eabi commands separately.