D3.js Guidelines 1 | Coding Tools, Extensions, and Installations for HTML
D3.js Guidelines 1 | Coding Tools, Extensions, and Installations for HTML

- Installation of The VSCode
Here we are not going to talk too much about how to install the VSCode, partially it is because it is quite simple. The easiest way to download it is from its official website, where we can find the latest version for Mac, Win, and Linux.
2. Installing Emmet
Emmet is a toolkit for web developers and especially for language HTML and CSS. With Emmet, we could write the abbreviations of the HTML and CSS code and simply expand that. For VSCode, we could research the plugins and then build them in the VSCode.
3. First HTML
Let’s now create our first HTML page with VSCode. So first of all, we add a folder to the workspace with File > Add folder to workspace > New Folder > Name it “HTML_Intro”. So that we have already built our new working folder. Another way to new a folder is to click on File > New window > Click on the “File” button on the left-hand-side bar > Open folder > Choose the folder “HTML_Intro”.
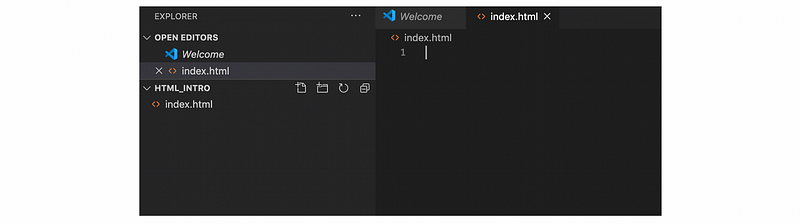
Click on the explorer and then on the HTML_INTRO folder, we could new a file by click on the “Add file” button or we could add it through command+n. Suppose we use the “Add file” button to add a new file with a name called index.html and then click on the enter, we could find it both in the Open Editor and the HTML_INTRO folder.
- Firstly, we type in html and press Tab and then press Enter, we could have an html structure here.
<html>

</html>
- Here we want to use html5 so we type in html and choose html:5, it will automatically generate a template of html5 structure.
<!DOCTYPE html>
<html lang="en">

<head>
<meta charset="UTF-8">
<meta name="viewport" content="width=device-width, initial-scale=1.0">
<title>Document</title>
</head>

<body>
</body>

</html>
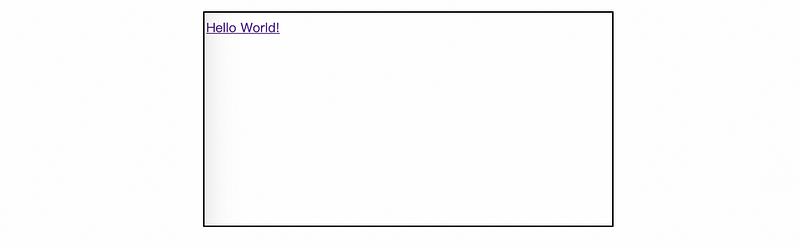
- So then inside the body tag, we use <a> tag in order to create a link that directs to another website. For example,
<a href="https://www.google.com"> Hello World! </a>
- Then we right-click on the file and choose “Reveal in Finder”, we can then open this webpage that we have already built in the folder named HTML_Intro. We just double click the file and it will automatically open in the browser. If we click on the Hello World!, it would direct you to the www.google.com webpage.
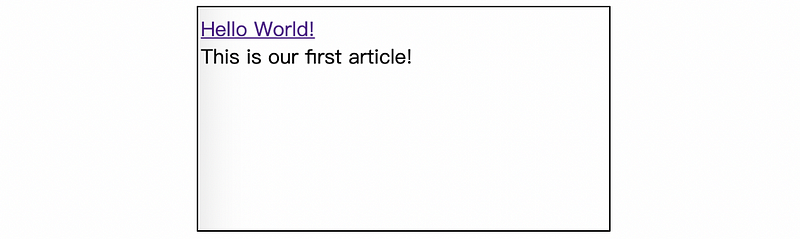
- We then type in another code. We type “article” and press Tab. Inside the tag, we write “This is our first article” and then press save. We then back to the browser but there actually nothing happens. So, we are going to do here is to refresh the window so that we could see the change.
<article>This is our first article!</article>
4. Install Extension Live Server
If we don’t like to refresh the browser every time we make a change and we want to have it automatically refreshed, we could add an extension called “live server”. So we click on the install button and we could finally get a build-in Live Server in our VSCode.

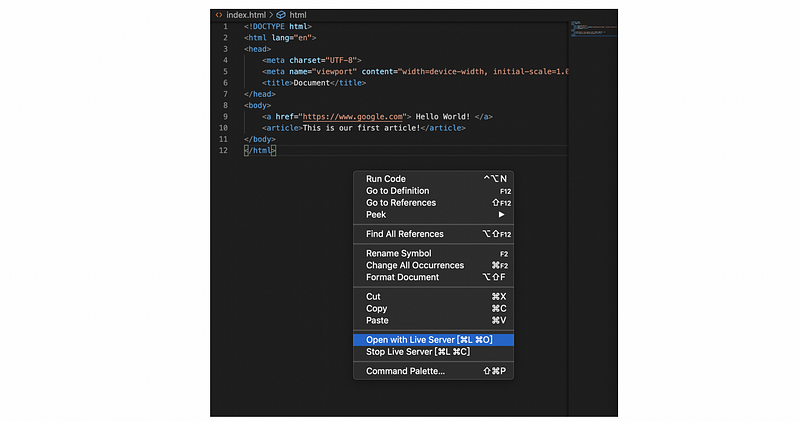
After building the Live Server, we could right-click on the VSCode content and choose Open with Live Server. Then it is going to say that Live Server is open on the 5500 port and to open a new webpage. Every time we save a file (maybe with command+s) it will automatically refresh in the new window that is created just now.
5. Recommended Browser: Chrome
Because we are going to use Chrome in this guide, so please make sure that we are going to use the same one. Chrome provides a inspect console so that we could examine everything on the website.