Data Acquisition 9 | Application Programming Interface (API)
Data Acquisition 9 | Application Programming Interface (API)

- REST API
The API is a computer interface that we can transfer data through different software. The REST API is a series of rules about API that makes the API easy to understand by its URL, method, and response. A simple way to understand REST is that REST is for giving data instead of the HTML web page.
2. The Dog API
The dog API is a free API that we can use to understand APIs. First of all, let’s go to the page,
https://api.thedogapi.com/v1/images/search
Then, it will randomly send back a record of the dog’s image data to us,
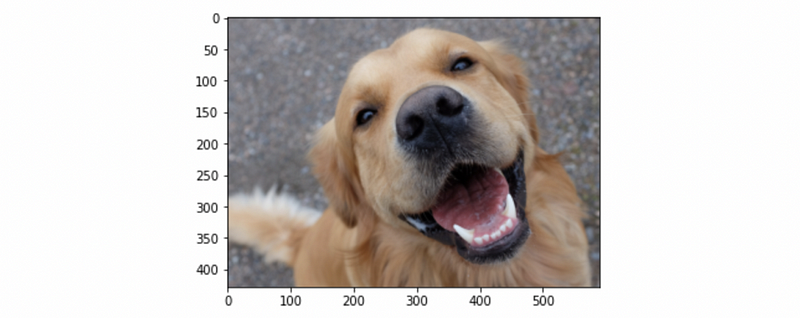
[{"breeds":[],"id":"IYnbVDoBJ","url":"https://cdn2.thedogapi.com/images/IYnbVDoBJ.jpg","width":1080,"height":1350}]If we go to the URL of this record, then we are going to have a dog’s image! For example,

Because every time we send a request to this API, we will have a dog image. Then we can write a python code to get this image for us
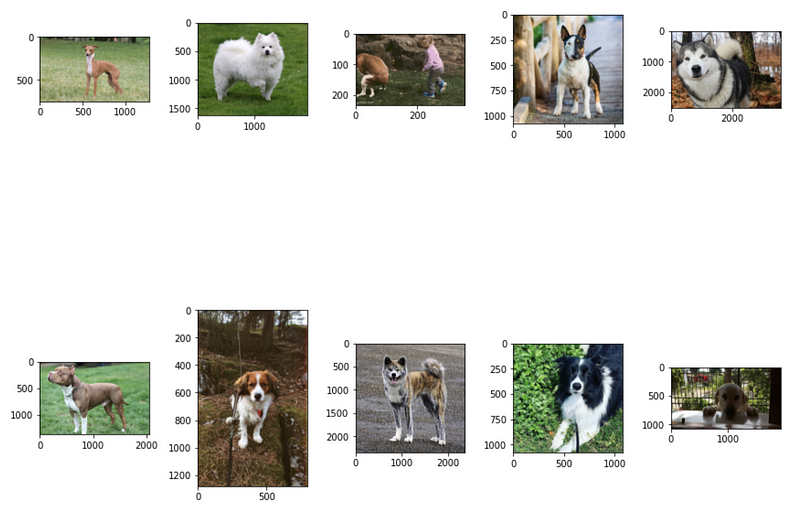
Also, we can grab 10 (or more) dog images at a time from this API.
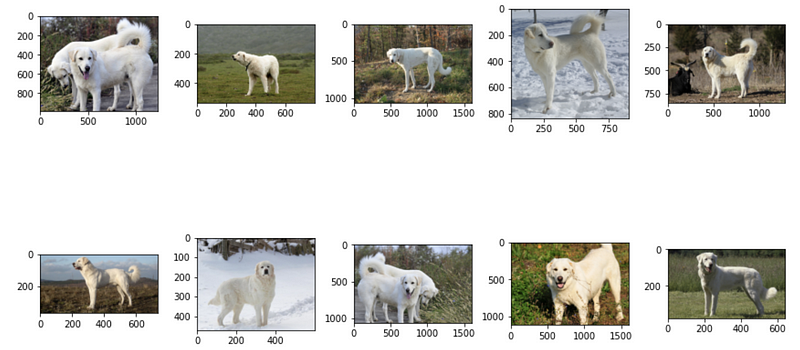
Suppose now we want to get 10 different pictures of the Akbash Dog and we know that the id of this dog is 5. Then, the following URL will search only the Akbash Dog for us,
https://api.thedogapi.com/v1/images/search?breed_ids=5
Thus, the python code is,
The following URL is going to give us the breeding information of the Akbash Dog (note that %20 means space),
https://api.thedogapi.com/v1/breeds/search?name=Akbash%20Dog
The information should be,
[{"weight":{"imperial":"90 - 120","metric":"41 - 54"},"height":{"imperial":"28 - 34","metric":"71 - 86"},"id":5,"name":"Akbash Dog","bred_for":"Sheep guarding","breed_group":"Working","life_span":"10 - 12 years","temperament":"Loyal, Independent, Intelligent, Brave","origin":""}]We can also use a python script to grab this information,
Note that the from requests.utils import quote module is used to convert Akbash Dog to Akbash%20Dog.
3. The Youtube API
The Youtube API is an interface that we can pull data from Youtube in a quick way.
- First of all, we have to create a google account (Skip this step if you have one).
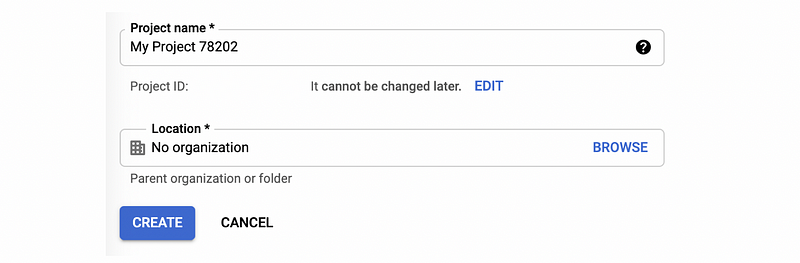
- Secondly, we go to Google’s API console. From the console, let’s create a new project with any name you want,
- Thirdly, from the API Library of Google,
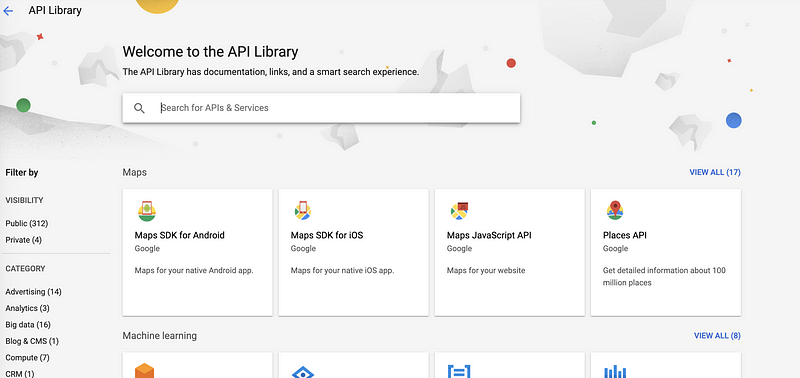
Let’s search for,
YouTube Data API v3
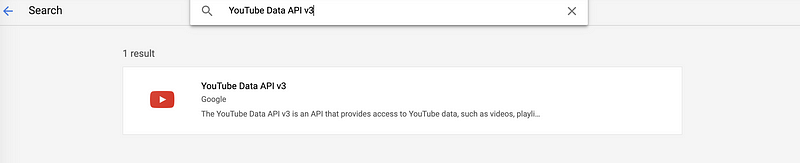
Then enable this API for our project.
- Fourthly, from the dashboard page of the project, select Credentials, and then choose the CREATE CREDENTIALS. Then select the API key tag to create a new API key.
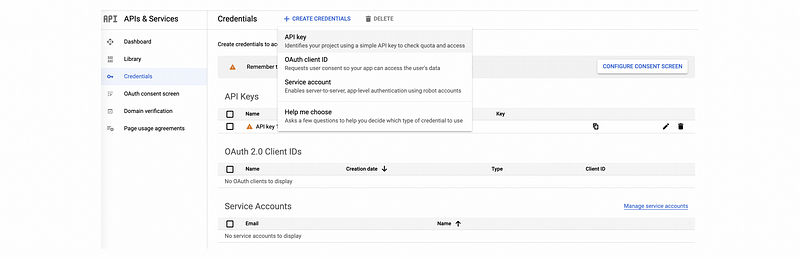
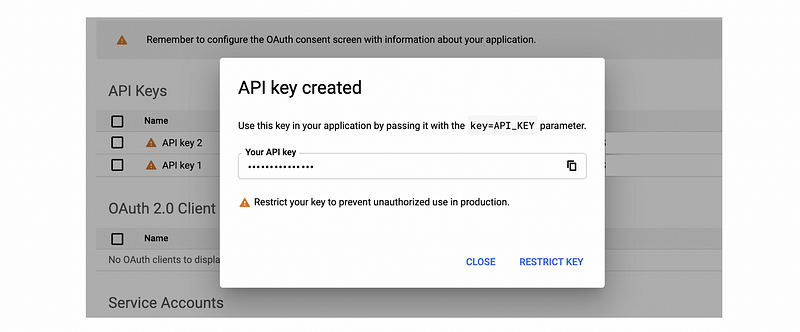
Then we copy this API key and store it in our python script.
key = '.............'
Note that you should never store your API key in your code because it can be leaked and troubles you.
- Fifthly, refer to the API documentation of Youtube to familiarize yourself with the basic settings of the Youtube API.
! pip install --ignore-installed --upgrade google-api-python-client
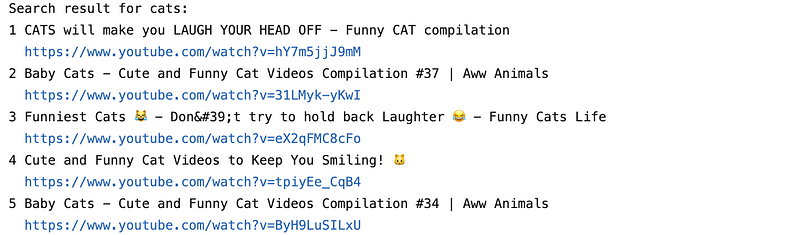
- Finally, use the following script to get a list of search results of the keyword ‘cats’.
Remember to replace the variable key with your API key. Run the script above, we are going to have a list of searching results (with 20 records). For example,
Also, we can use the following script to pull the comments of a video given its videoId (i.e. we use the videoId gU_gYzwTbYQ).
The output should be,

We can use the following script to get a bunch of videos and their comments.
The output should be,

4. The Tweeter API
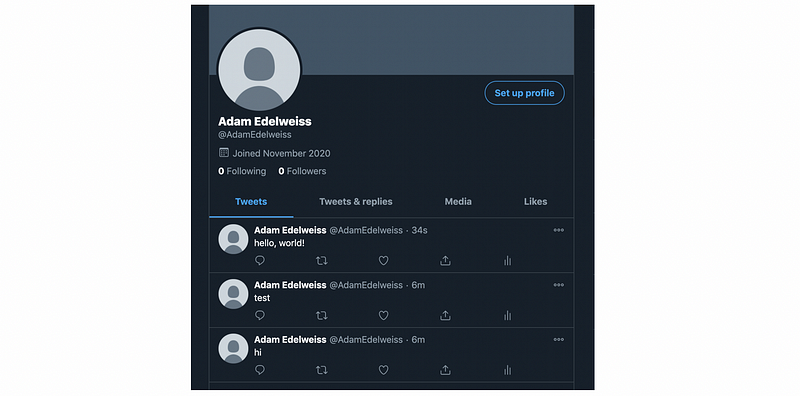
- First of all, let’s create a new tweeter account (if you have one, feel free to use your account). Then tweet some posts to your timeline.
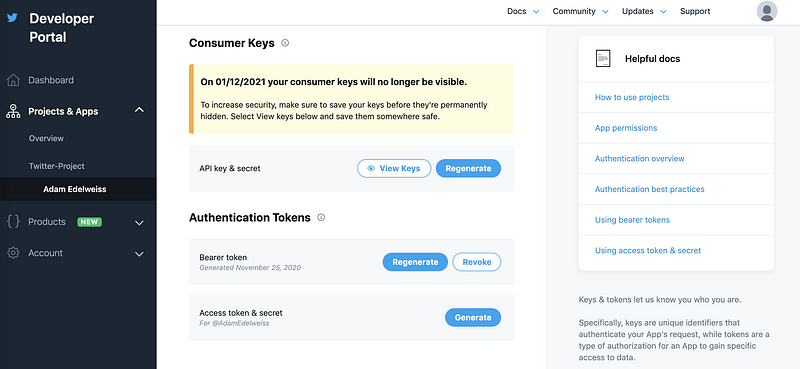
- Secondly, go to the developer page of the tweeter. Click on “Create New App” and then click on that new app when it appears. Then click on the “Keys and tokens” button.
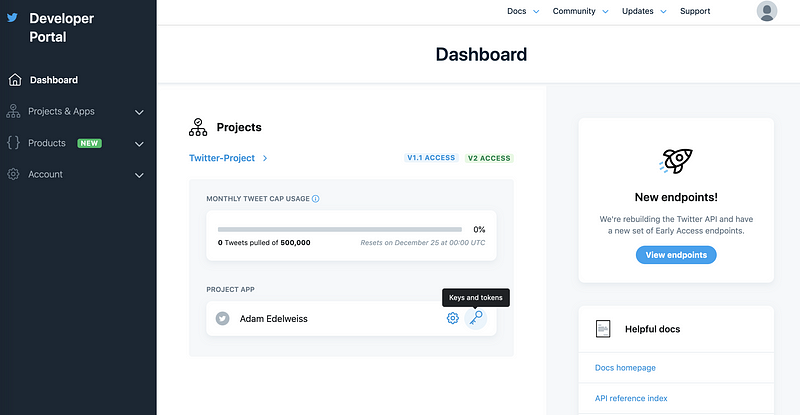
- Thirdly, click on the “View Keys” to grab the customer API key and the customer API secret key,
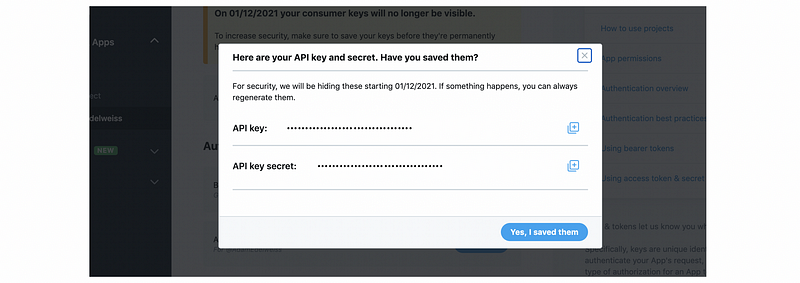
Then we record these two keys in the script,
consumer_key = '.............'
consumer_secret = '.............'
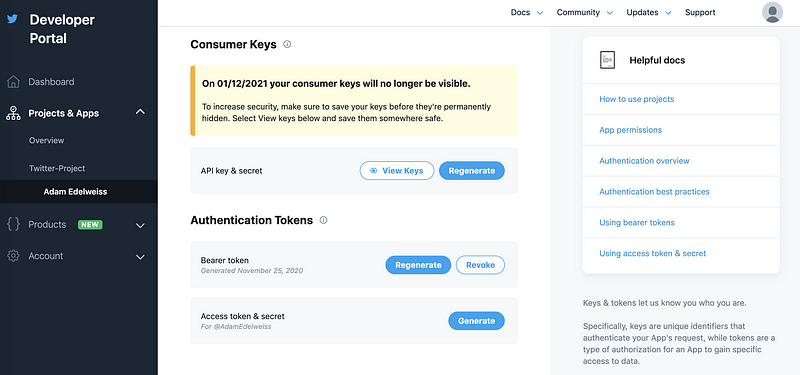
- Fourthly, click on the “Generate” to grab the customer API key and the customer API secret key,
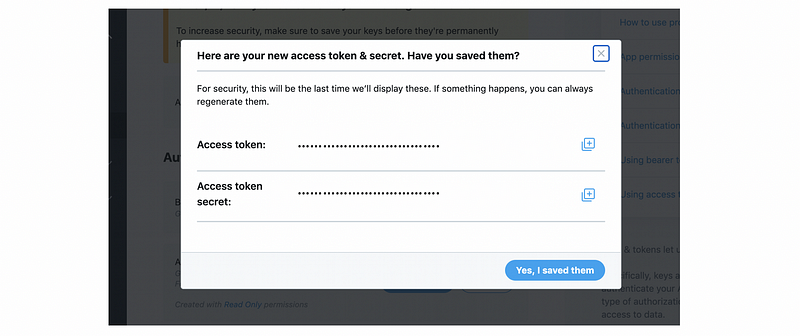
Then we record these two keys in the script,
access_token = '.............'
access_token_secret = '.............'
- Fifthly, install tweepy to your environment.
$ pip install tweepy
- Finally, run the following script to get a summary of our timeline information,
The output will be (for me). This is the same as what I have on my timeline.

For a given user, for example, Joe Biden, we can get a brief summary of his information with the script,
The output will be,

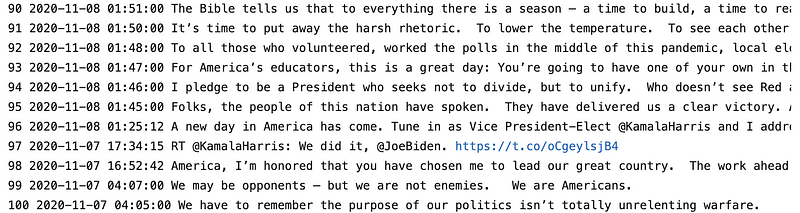
Again, we can use the following script to get the timeline of a given user (i.e. JoeBiden),
The output is,

However, there are only 20 records displayed. This is because the first page of the tweeter can only contain 20 records. So what if we want to get 100 records from the timeline? The Cursor is a method that we can use to display more records. We can use the following script to get more records,
Here are our last 10 records of the output,