Data Pipeline 4 | XComs and Hooks for Task Communications
Data Pipeline 4 | XComs and Hooks for Task Communications

- Internal Cross Communications (XComs)
(1) The Definition of Cross Communications
XComs (short for “cross-communications”) is a mechanism that lets Tasks talk to each other, as by default Tasks are entirely isolated and may be running on entirely different machines. An XCom is identified by a key (essentially its name), as well as the task_id and dag_id it came from. They can have any (serializable) value, but they are only designed for small amounts of data; do not use them to pass around large values, like dataframes.
It is important to know that XCom is only used for transferring a small amount of data and we should find some other ways if we want to transfer a larger data volume. If we have a larger amount of data, we have to think about using intermediary data storage. This means saving your data to some system external to Airflow at the end of one task, then reading it in from that system in the next task.
(2) xcom_push Method in PythonOperator Tasks
In the PythonOperator, we can easily push and share data with another task by xcom_push function or simply return it. For example, suppose in the task push_data, we have a variable named passme and we would like to pass it to another task. Then what we can do is either push an XCom without a specific target,
kwags['ti'].xcom_push(key='passme', value=passme)
Or we can simply return it without a specific target,
return passme
(3) Pull Data from PythonOperator Tasks
If we push by the xcom_push method, then in the Python script, we can get it through the output method. The output method is only used XCom and it returns the reference to XCom pushed by the current operator. So if we want to pull the data with the key 'passme' from the task push_data , we have,
push_data.output['passme']Or, if we directly return this value, we can use,
push_data.outputIt is also okay to extract the shared data from kwargs,
kwargs['ti'].xcom_pull(key="passme", task_ids='push_data')(4) xcom_push Method in Non-PythonOperator Tasks
Typically, we are able to access XCom variables within templated fields. For example, in a bash command, we can use a template reference for xcom_push,
{{ ti.xcom_push(key='passme', value=passme) }}Or we can directly return it as our return value,
echo {{ passme }}(5) Common Scenario
Commonly, we can not pass a value easily with XCom, so we may have to think about creating some customed operators as we have discussed previously.
(6) XCom Example
Apache Airflow provided us an example of how to use the XCom and this code should be self-explanatory according to our discussions above.
2. External Hook Communications
(1) The Definition of Hooks
Hooks are meant as an interface to interact with external systems. Airflow operators and sensors don’t operate in isolation. Instead, they can connect to systems outside of Airflow, such as databases, cloud systems, remote machines, etc., using hooks and connections, which contain the necessary information required to connect to external systems.
(2) Create a New External Connection
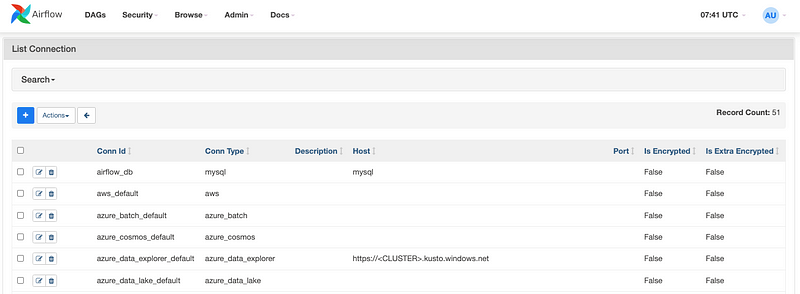
Now, let’s suppose we would like to interact with our external local ProgreSQL database. So what we would like to do is to first, establish a new connection. We should go to the Airflow webserver and select Admin > Connections. Then we should click the blue + sign for creating a new connection.
Then we can create our own Postgres connection PostgreDB by,

(3) Connect to Database
For PostgreSQL , we have to import psycopg2 for connecting to the PostgreSQL database.
import psycopg2We can then establish a connection using the connection information we have filled in,
conn = BaseHook.get_connection('PostgreDB')
conn = psycopg2.connect(host = conn.host,
                        port = conn.port,
                        database = conn.schema,
                        user = conn.login,
                        password = conn.password)
Then we should be able to query this database if we can successfully connect to this database,
cur = conn.cursor()
cur.execute("SELECT * FROM courses")
To get the data in that cursor, we can then use,
cur.fetchall()
Note that if we are using the MySQL database, we should use MySQLdb,
import MySQLdb
And the other steps are quite similar.