Operating System 2 | Building the Development/Testing Environment
Operating System 2 | Building the Development/Testing Environment

- Vagrant Installation
Let’s start by assuming that you have no Vagrant installed, you can go to the official website of Vagrant and download its latest version. You may also need to download Virtual Box.
2. Build the Top-level Directory
Now, let’s create a top-level directory that we plan to use for this series,
$ cd ~
$ mkdir CS6200
$ cd CS6200
$ mkdir pr1
$ mkdir pr3
$ mkdir pr4
Download and save the Vagrantfile from this link.
$ curl https://gist.githubusercontent.com/Sadamingh/4866874eb05cf1ae92de6d8ada756a26/raw/1258f3ba822d382c42096e65e33c40702a369c56/Vagrantfile > Vagrantfile
3. Set up the Virtual Machine
From the directory with a Vagrantfile , we can use,
$ vagrant up
to run the virtual machine. Note that ubuntu-18.04 may be installed for the first time you run this command, so don’t worry and wait for the stuff like default: Progress: 35% (Rate: 1702k/s, Estimated time remaining: 0:19:29 to complete.
After configuration, the VM will automatically boot from the VirtualBox and ask for the username and password. The login information should be,
username: vagrant
password: vagrant
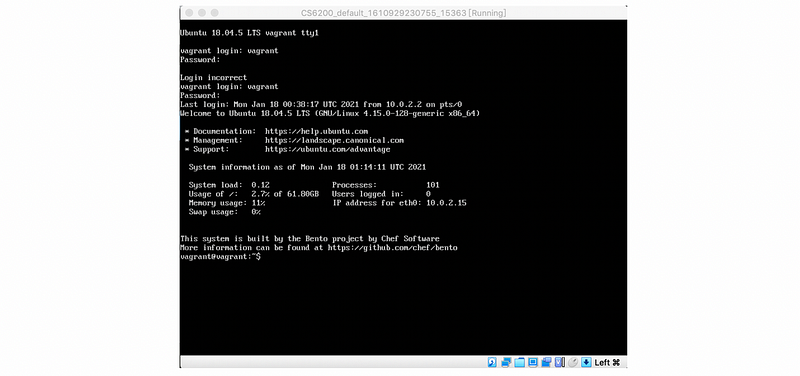
To use the terminal in our computer instead of the shell in VirtualBox, we can use the vagrant ssh connection,
$ vagrant ssh
If we want to find the directory we have built, we can go to the /vagrant path,
$ cd /vagrant
$ ls
4. Test the Environment
How can we verify whether or not our environments are right? In this case, we are going to test our environment by munit and cmocka.
(1) Test by munit
To compile munit, first of all, we have to clone it from Github,
$ cd ~
$ git clone https://github.com/nemequ/munit
Note that we should install build-essential to use the make command,
$ sudo apt-get install build-essential
After that, we go into the directory of munit and compile the files by,
$ cd munit
$ make
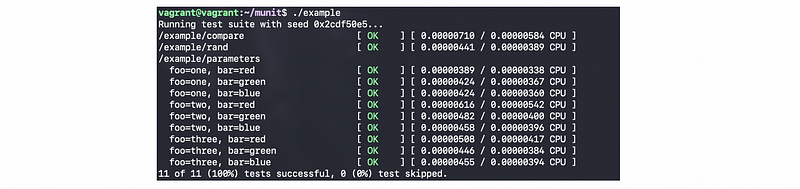
To run our tests, we should use,
$ ./example
The output should be,
(2) Test by cmocka
To test by cmoka, we have to clone it from GitHub,
$ cd ~
$ git clone https://git.cryptomilk.org/projects/cmocka.git/
Also, we have to install cmake for building this program,
$ sudo snap install cmake --classic
Then, let’s go into the directory cmocka and make a new directory named build. Then direct to this build directory,
$ cd cmocka
$ mkdir build
$ cd build
In the build directory, we need to configure the compilation, using CMake.
$ cmake -DCMAKE_INSTALL_PREFIX=/usr -DCMAKE_BUILD_TYPE=Debug ..
$ make
If you want to install cmocka after compilation, run,
$ make install
For testing comcka , you should run,
$ make test
You should find the following line in the output,
...
100% tests passed, 0 tests failed out of 47
...
Then the environment is successfully built on your computer.
5. Remote VS Code by SSH Connection
We may get bored with vim because it is not easy for our development. Instead, we can use the VS Code as our IDE for this series. In order to use the Vs Code, we have to remotely connect to the virtual machine vagrant .
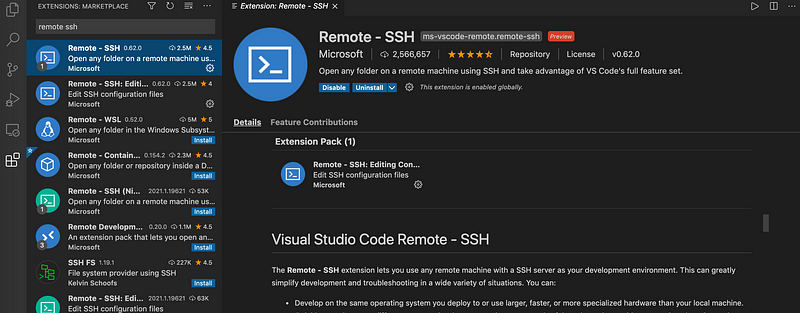
From the plugins of the VS Code, we should search for Remote — SSH and then install it on our computer,
After the installation, from the bottom-left corner of the VS Code, we can then find the following button of “Open a Remote Window”,

Then we click on this button and then choose “Remote-SSH: Open Configuration File …” and then choose the configuration file in our home directory.
Now, we should open a new terminal and go to the directory that we have the Vagrantfile,
$ cd ~/CS6200
$ vagrant ssh-config
We should then have the following output,
Host default //*note you can change this to Vagrant
HostName 127.0.0.1
User vagrant
Port 2222
UserKnownHostsFile /dev/null
StrictHostKeyChecking no
PasswordAuthentication no
IdentityFile ///*this should be your path for the key
IdentitiesOnly yes
LogLevel FATAL
Copy this result and paste it to the configuration file, then save the configuration file. From the left bar in the VS Code, choose the remote machine you have set up,

Click on the “Connect to the host in new window” button,

Now, we can work in the Vagrant with VS Code!
